Thursday, November 12, 2026

One Stamp Set, Two Techniques: Branched Out Messages


Hello, crafty friends! 🦄💜

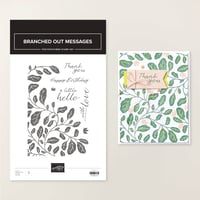
During my YouTube Live this past Thursday, I had some fun playing with the Branched Out Messages Stamp Set, Stampin' Up!'s November Product of the Month!

One of my favorite things about stamping is discovering how many different looks you can achieve using "mostly" the same supplies. And that's exactly what we did with these two cards!


Card #1 – Fresh & Colorful

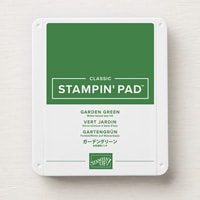
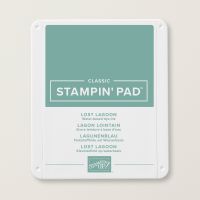
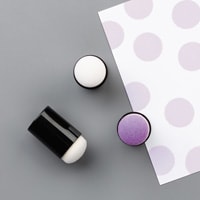
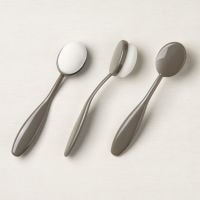
For my first card, I used sponge daubers to apply different ink colors directly to the stamp.

This is such a fun way to create a multicolored stamped image! Instead of inking the entire stamp with one color, you can use sponge daubers to add different colors to different areas of the stamp.

I love how the shades of green and blue work together to create a beautiful leafy design. The white background really allows those colors to shine!

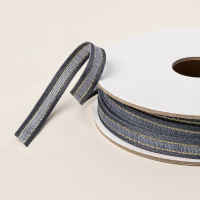
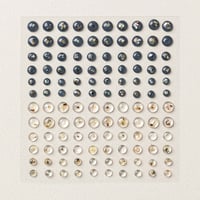
I finished the card with a simple "a little hello" greeting, ribbon, and a few embellishments.


Card #2 – Emboss Resist

For my second card, I switched things up and used the emboss resist technique!

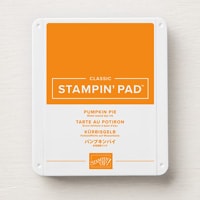
This time, I heat embossed the leafy image in clear and then used my sponge daubers to apply the same ink colors over the embossed image. The embossed areas resist the ink, allowing those beautiful white leaves to stand out against the rich, colorful background.

It's always fun to watch the image come to life as you add the ink! I finished this card with the same greeting, ribbon, and embellishments (the clear color though) as the first card.


Same Supplies, Two Completely Different Looks!

That's what I love about these cards! They use the same stamp set, ink colors, and basic layout, yet they have completely different looks.

One is fresh and colorful, while the other is bold and dramatic!

It's a great reminder that you don't always need more products to create something new. Sometimes you just need to try a different technique with the supplies you already have!

And if you haven't played around with sponge daubers lately, I encourage you to give them a try. They're such a simple little tool with so many creative possibilities!

November Product of the Month

The Branched Out Messages Stamp Set is Stampin' Up!'s November Product of the Month! You can purchase this for only $5 with a $75 order!

With its beautiful leafy images and versatile greetings, it's a wonderful stamp set for creating birthday, thank-you, and just-because cards.

I can't wait to see what else I can create with this set!

Missed My YouTube Live?

No worries! You can catch the replay and watch how I created both of these cards, including how I used sponge daubers for two different techniques.

Watch the replay here: Branched Out Messages YouTube Video

Now, I'd love to know which card is YOUR favorite!

  • Card #1: The multicolored stamped image on the white background.

  • Card #2: The bold emboss resist card with the colorful background.

Leave me a comment and let me know!

Until next time, happy stamping!


Product List

Sunday, November 8, 2026

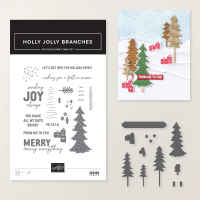
Joyful Pines (Holly Jolly Branches Bundle) Stampin' Up!

Stupendous Swappers Sunday! 💜

Every Sunday I’ll feature a swap card from one of my awesome fellow Stampin’ Up! demonstrators!

Leave a comment to let me know you stopped by. At the end of each month, I’ll draw one lucky commenter to win a set of handmade cards or a photo tutorial from me!

Enjoy & Happy Stampin’! 💜

Sending JOY Always! 🌲💙

I love the peaceful, wintery feel of this swap card! The layers of blues and greens are so pretty, and I love how all the different patterns and textures come together.

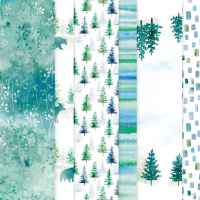
This beautiful swap was created by Laura Roethle from Illinois using the Holly Jolly Branches Bundle from the Sept–Dec Catalog and the gorgeous Whispering Woods Designer Series Paper. Whispering Woods is also our current Product Give Back—$3 from each package sold is donated to organizations helping spread a little holiday cheer!


The details on this card are where it’s at! Laura used emboss resist and watercoloring techniques to create those beautiful trees. And check out all those little extras—from the dotted details on the die cuts to the touch of twine and embellishments. 😍

What’s your favorite detail? Leave me a comment and let me know you stopped by! 💜


Product List

Saturday, October 3, 2026

Mr. Kodiak


When You’re Really Tired… 😂🐾

There’s nothing quite like finding the perfect spot to soak up a little morning sunshine.

Kodiak was curled up in his window bed, warm and cozy, enjoying a peaceful morning nap. Or at least I thought it was peaceful… until I noticed one eye was still open. 😂

At first I thought he was awake and keeping tabs on me. Because, well, cat.

Then I got closer.


Nope. Sound asleep.  And if the open eye wasn’t creepy enough, I got the perfect picture showing his eye rolled back in his head. 🤣

Sir. You look possessed.


Meanwhile, Kodiak is completely oblivious, curled up in the sunshine having what I can only assume is the best nap of his life.

Naturally, I did what any good cat mom would do. I took pictures. Lots of pictures. 📸😂

Because when your cat sleeps with his eyes open and gives you photographic evidence of just how weird cats really are, you document it.

Sweet dreams, Kodiak. Maybe close your eyes next time. 😴🐾

Tuesday, September 29, 2026

Scratch & Sniff Painted Pumpkins Stampin' Up!

Recently I made these adorable treat bag & tag for my 2 Day Creative Retreat! It may look like there’s a lot going on with all those layers and texture, but it’s actually super easy to make in multiples.

And here’s the really fun part… did you know it’s SCRATCH & SNIFF?! Yep! Give those pumpkins a little scratch and enjoy the scent of fall! 🎃🍂


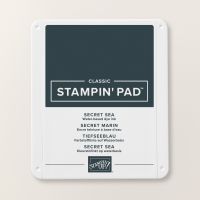
To start, stamp your pumpkins in Secret Sea. I love using this color because it really pops against the orange and other warm shades that look amazing with pumpkins.

Next, use the first mask from the Painted Pumpkin Mask Set to add your color. I started with a light pink—either Petal Pink or Blushing Bride works great—and then layered Pumpkin Pie over the top. For a little extra dimension, add more ink toward the centers of the pumpkins to create a beautiful shaded look.

In the photo above, the top pumpkins show the first layer of shading, while the bottom pumpkins show how they look after the second color is layered over the top.


After coloring the pumpkins, it’s time to emboss them!

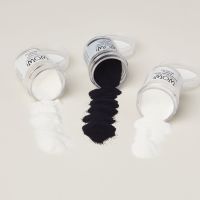
I mixed 2 parts Clear Embossing Powder with 1 part Pumpkin Spice mix to give the pumpkins a fun fall scent. You could also try Kool-Aid, cinnamon, or another scented powder of your choice.

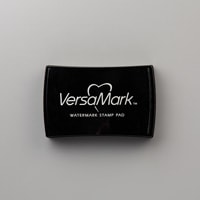
Keep the mask over the pumpkins and apply VersaMark ink. Carefully remove the mask, then cover the pumpkins with the embossing mixture.

IMPORTANT: Heat the embossing powder FROM THE BACKSIDE of the paper until all of the powder is completely melted.


This picture shows the difference between using a mask and not using a mask when adding the VersaMark.

On the left, I added VersaMark over the entire area around the pumpkins before adding the embossing mixture. You can see some of the speckled Pumpkin Spice remains around the outside edges after die cutting.

On the right, I applied the VersaMark while the mask was still in place. This keeps the embossing mixture right where you want it, leaving nice, clean edges around the pumpkins once they’re die cut.

It’s a small extra step, but it definitely makes a difference!


Once the tags were finished, it was time to put everything together! I stuffed the iridescent treat bags, tied them closed, and added the finished tags.

Of course, as you can see, Ms. Xena thought I needed a little help! 🐾😹

It ended up being the perfect Sunday afternoon project—stuffing treat bags, adding tags, and watching football. Not a bad way to spend the day!


Look at all those amazing goodie bags! 🎃✨ The proof is in the details!

From the dry embossing and layered ribbons to the embellishments and finishing touches, there’s so much to love. And, of course, each one gets that extra personal touch with a handwritten name.

Sometimes it’s those little details that make a project feel extra special!


Every attendee received one of the iridescent goodie bags, filled with a roll of mints, a drink mix packet, chapstick, and a piece of sugar-free Russell Stover candy.

My Gold Level attendees received an additional goodie packet filled with a chapstick holder, metal magnetic bookmarks, and a fun retro keychain—all branded with the Stampin’ Up! logo.

And now I’m already looking forward to the next one! 🎉

My next 2 Day Creative Retreat is December 11–12, and we’re celebrating with a Birthday Bash theme! 🥳🎂

Check out all the event details and register here:
Birthday Bash 2 Day Creative Retreat Event Details

Register soon—there are only a few spots left before I start a waiting list! If we reach 25 attendees, I’ll rent a larger room so we can bring even more crafty friends along for the fun!

If you make it to the end here, make sure you check out my YouTube video that explains it all!  And don't forget to leave a comment here and there!

Product List

One Stamp Set, Two Techniques: Branched Out Messages

Hello, crafty friends! 🦄💜 During my YouTube Live this past Thursday, I had some fun playing with the Branched Out Messages Stamp Set , Sta...